
Windows will assign drive letters dynamically to removable storage devices as you plug them in. In most cases, it automatically progresses through the alphabet (sans A and B) with your main drive using the drive letter C. However, you might want to change a drive’s letter for easier management.
Whether it’s an external or internal storage drive, you can change a drive letter on Windows 11 or Windows 10 using the steps below.
Changing a Drive Letter on Windows 11 via Settings
Before you change a drive letter on Windows, there are a couple of things to note about this process. First, you shouldn’t try to change your local C: drive letter, as it’s where Windows and most of your apps run from. Changing the main drive letter will result in Windows not booting, and apps won’t run at all.
Follow the Steps To Change the Letter Of Any Windows Machine:
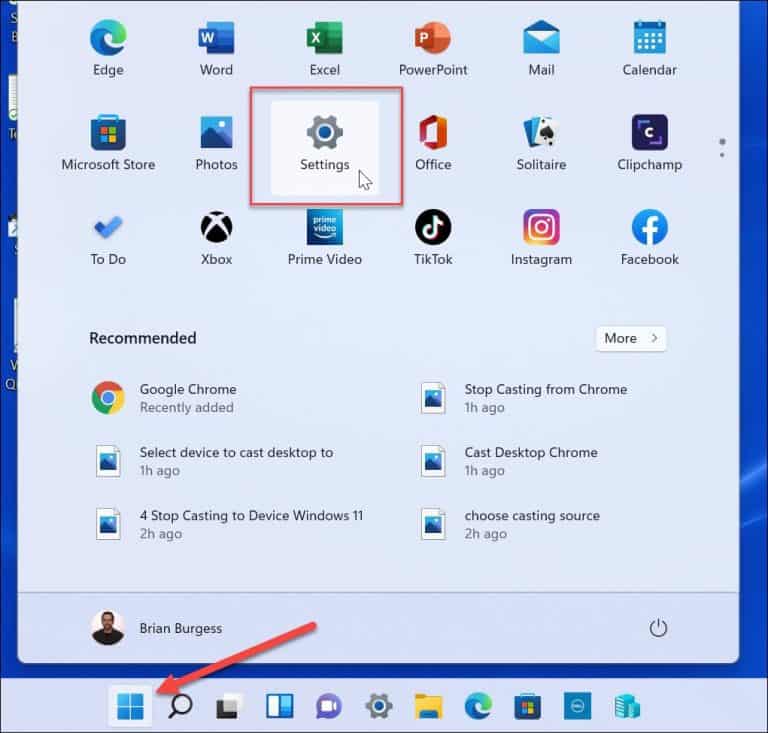
1. Click the Start button and choose the Settings icon.
2. When Settings opens, navigate to System > Storage.

3. Scroll down the Storage section, expand the Advanced storage settings option, and click on Disks & volumes.

4. In the Disks & volumes section, scroll down and click the drive you want to change.
5. Next, click the Properties button.

6. Under the Volume Data section, click the Change drive letter button.


Here You Go, You Are Good To Go!
Thanks For Reading This Blog.
Ask Any Query If You Have